Installing Nextcloud All-in-One on TrueNAS
My journey into self-hosting began with Nextcloud. I’d known about it for a while, but the idea of running my own personal cloud and escaping OneDrive (which is what I was using at the time) sounded really cool.
My first attempt involved following a Learn Linux TV tutorial to install it on a Linode VPS. That adventure was short-lived because storage on a VPS is not very cheap and also didn’t scale well for my needs. I quickly realized that with my own cloud came the responsibility of protecting my own data. This realization made me start looking for a solution, which ultimately led me to TrueNAS, arguably the most popular open-source NAS operating system out there. I installed it on an old laptop, and that simple act marked the true beginning of my self-hosting adventure.
I like deplying Nextcloud on TrueNAS because it comes with Docker installed by default. And since this is my cloud and I have to care about my data, I want to take advantage of the data protection that TrueNAS provides with ZFS, pools , data integrity, snapshots, compression, self-healing, and more.
Docker Compose Configuration
You can find more info about Nextcloud AIO on their official GitHub repository here. By the way, this is the official way of installing Nextcloud.
I like to manage my Docker containers with Portainer. I’ll be using the compose file from the GitHub repository here because we’re putting Nextcloud behind Pangolin Reverse Proxy.
Below is my edited compose file. I encourage you to take the time to read the official file and understand what each setting does so you can customize it to your needs.
services:
  nextcloud-aio-mastercontainer:
    image: ghcr.io/nextcloud-releases/all-in-one:latest
    init: true
    restart: always
    container_name: nextcloud-aio-mastercontainer # This line is not allowed to be changed as otherwise AIO will not work correctly
    volumes:
      - nextcloud_aio_mastercontainer:/mnt/docker-aio-config # This line is not allowed to be changed as otherwise the built-in backup solution will not work
      - /var/run/docker.sock:/var/run/docker.sock:ro
    network_mode: bridge
    ports:
      - 8080:8080
    environment:
      APACHE_PORT: 11000 # Needed when running behind a web server or reverse proxy.
      APACHE_ADDITIONAL_NETWORK: pangolin # (Optional) Connect the apache container to an additional docker network. Needed when behind a reverse proxy running in a different docker network on same server.
      BORG_RETENTION_POLICY: --keep-within=5d --keep-weekly=2 --keep-monthly=3
      NEXTCLOUD_DATADIR: /mnt/tank/apps/nextcloud/data # Allows setting the host directory for Nextcloud's datadir. ⚠️⚠️⚠️ Warning: do not set or adjust this value after the initial Nextcloud installation is done!

volumes:
  nextcloud_aio_mastercontainer:
    name: nextcloud_aio_mastercontainer # This line is not allowed to be changed as otherwise the built-in backup solution will not work
Understanding the Borg Retention Policy: The BORG_RETENTION_POLICY setting controls how long your automated backups are kept. In this configuration:
--keep-within=5d: Keep all backups from the last 5 days--keep-weekly=2: Keep 2 weekly backups beyond the 5-day period--keep-monthly=3: Keep 3 monthly backups for long-term retention
This policy balances storage usage with backup availability, ensuring you have recent backups for quick recovery and older backups for disaster scenarios.
Setting Up Storage
So as always when installing a new app, you need to create the datasets for the app.
- Go to Datasets ▸ click on the
appsdataset - Click Add Dataset
- Name:
nextcloud - Data Preset: Select Apps
- Click Save
Create the data subdirectory following the same steps as the nextcloud dataset.
Configuring Pangolin Reverse Proxy
We have to setup Pangolin to forward the traffic to the Nextcloud container. A Site must be already created.
Adding a Resource is fairly simple. I’ll name mine Nextcloud:
- Set the
Subdomainto anything you want, I’ll usecloud - Make sure to select the
Sitein theTargets Configurationsection - Set the
IP/Hostnameto the Apache container name which isnextcloud-aio-apacheand thePortto11000 - Go to the
Authenticationtab and disableUse Platform SSOand click onSave Users & Roles
Deploying with Portainer
Now we go to Portainer and create a new stack. We’re going to name it nextcloud and paste your configured compose file. When ready, click on the Deploy the stack button.
Initial Setup
Once the stack is deployed and the container’s state is healthy, we can go to the Nextcloud AIO Interface.
Navigate to https://<your-truenas-ip>:8080. Make sure to use https (not http) to avoid a Bad Request error.
You should see something like this:
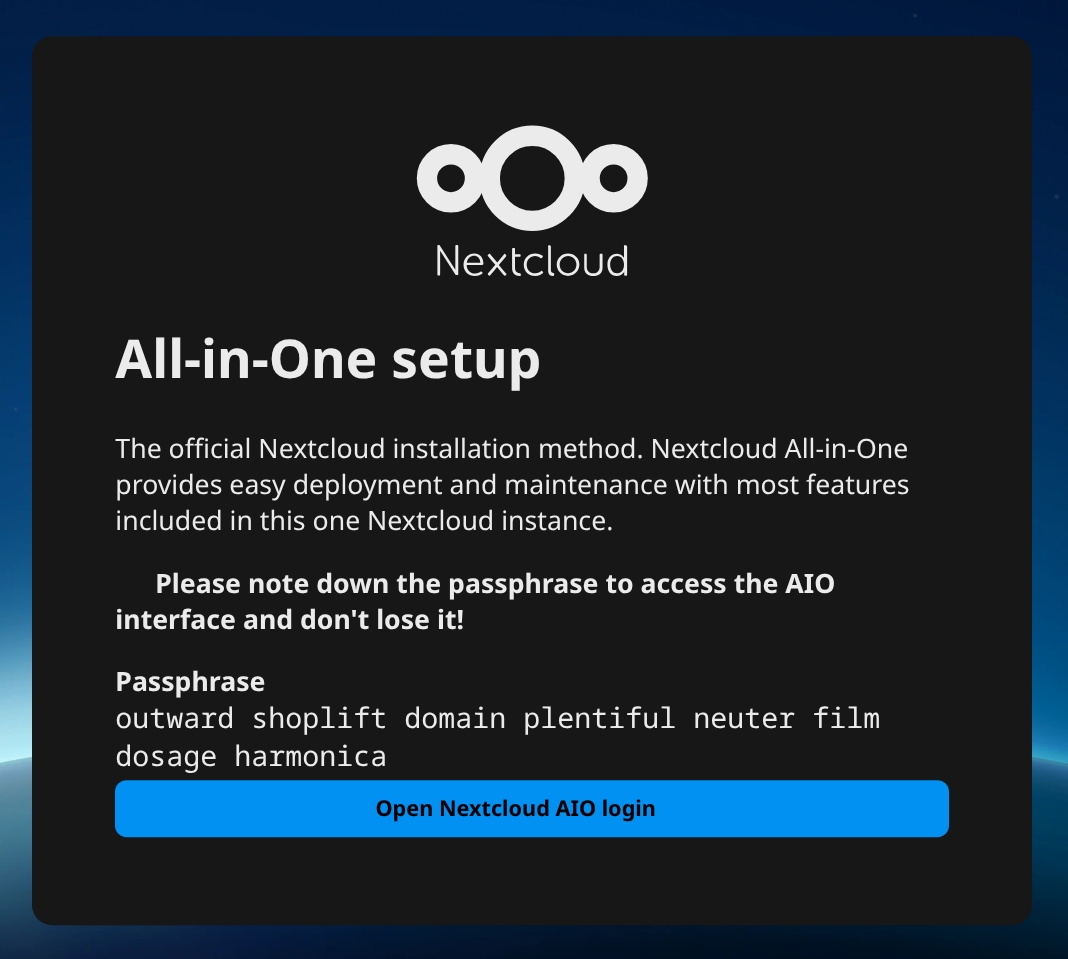
As the warning says, save the passphrase somewhere safe. Once you’ve done that, click Open Login, paste the passphrase you saved, and click Log in.
You should now see the Nextcloud AIO interface.

Domain Verification
The next step is to verify the domain name. Enter the domaine name configured in Pangolin and complete the verification process.
Once the domain is verified, you should see the Nextcloud AIO Interface with the Optional Containers section
The following are enabled by default:
- Collabora
- Imaginary
- Nextcloud Talk
- Whiteboard
I like to enable the following containers:
- ClamAV
- Fulltextsearch
And disable:
- Nextcloud Talk
- Whiteboard
After you’re done enabling/disabling the containers, click on the Save changes button and you’re ready to Download and start containers. This could take a while, so be patient.
First Login
Once all the containers are downloaded and started, you can Open your Nextcloud. But first, copy the admin password and save it somewhere safe. Please use a password manager. If you don’t have one, I personally use and recommend Bitwarden.
Enter admin as the username, paste the admin password you saved, click Log in, and you’re in! Welcome to your new Nextcloud instance.
Creating Your User Account
As you can see, Nextcloud created an admin user, and just like with TrueNAS, I prefer to create a separate user account for myself and give it admin privileges.
Click the user icon in the top-right corner, select Users, and then click the New user button. Fill in the required fields—I like to use lowercase for the Account name (think of it as your username)—and click Add new user.
Log out and sign back in with your new user account.
Personal Configuration
Now you can start personalizing your Nextcloud. I usually start by going to Personal settings to change my profile picture and add my phone number (don’t forget the country code) and any other information I want to add.
Security Setup
Security is very important to me—and it should be for you too—so I always configure 2FA. Go to Security in the left sidebar and find the Two-Factor Authentication section. Click Enable TOTP to generate a QR code. Scan it with your authenticator app (I recommend 2FAS if you don’t have one), then enter the generated code to verify, and you’re done.
Next, generate and save your backup codes by clicking the Generate backup codes button. These codes allow you to access your account if you ever lose your authenticator device. Store them in a secure location, preferably separate from your password manager. That way, if your password manager is ever compromised, an attacker would still need your backup codes to access your account.
Client Applications
To make the experience even better, the next step is to install the Nextcloud clients on your phone and computer.
You can find the clients here.
Cleanup
Finally, you can clean up by removing the nextcloud-aio-domaincheck container and image.